Thermal Print Quality Troubleshooting, Symptom by Symptom
Thermal transfer has exactly four variables — energy, speed, pressure, and the ribbon-material pairing — plus dirt. Every print defect is one of them talking, and each symptom points at its own culprit with surprising reliability. The diagnostic table below reads from the label in your hand back to the setting or part that produced it, followed by the one-minute care routine that prevents most of the table.
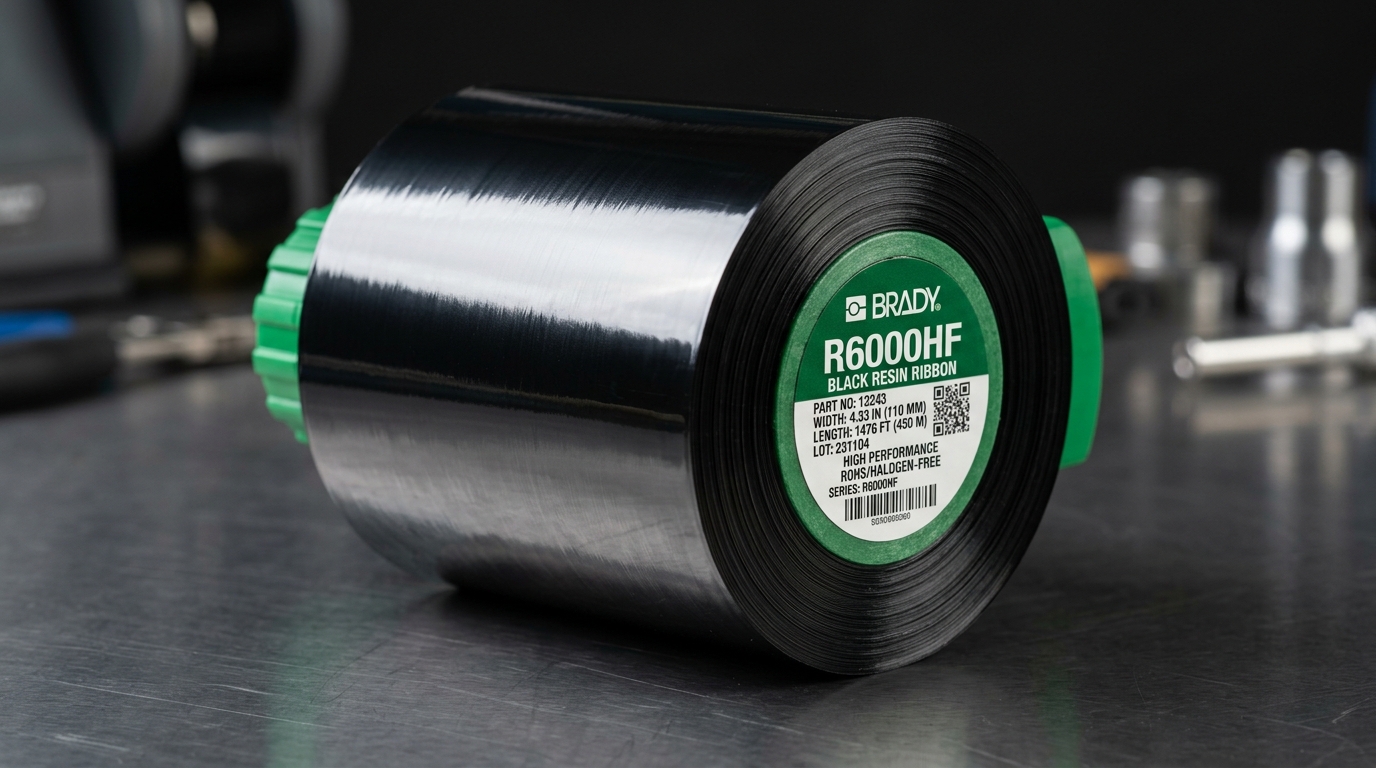
1. The Diagnostic Table
| Symptom on the Label | What It Points At | Fix, in Order |
|---|---|---|
| Uniformly light / gray print | Energy too low, speed too high, or ribbon-stock mismatch | Raise darkness stepwise → drop speed → verify pairing in the Ribbon Finder |
| Diagonal light/dark bands | Ribbon wrinkle — tracking, tension, or head pressure imbalance | Re-seat ribbon, check path alignment and width match, balance head pressure |
| Small white voids, random positions | Debris on media or head; heavily textured stock | Clean head + platen, keep media covered; textured stocks need more energy/pressure |
| Thin white line, same spot every label | Burned printhead element or hardened debris line | Clean first; if the line survives cleaning, the element is dead — replace the head |
| One side dark, other side faded | Head pressure unbalanced, or platen roller worn on one end | Adjust pressure balance; inspect platen for wear/flat spots |
| Legend cracks after heat-shrink recovery | Wrong ribbon for polyolefin sleeves | Use the sleeve-rated series (R6600 class for PermaSleeve) — see the ribbon chart |
| Print scratches off with a fingernail | Ribbon grade below the application (wax where resin belongs) | Move up the ribbon tier; verify against the material TDS pairing |
| Print OK, but smears with IPA wipe | Non-resin print in a solvent application | Full resin ribbon — the same chemistry logic as the GHS and lab guides |
2. The One-Minute Routine That Prevents Most of the Table
- Swab the printhead with 99% IPA on every ribbon change — cool head, lint-free swab, one direction, let it flash before printing.
- Wipe the platen roller while you are in there; a glazed or debris-tracked platen causes pressure symptoms that get blamed on the head.
- Keep media sealed until loading. Warehouse dust on the roll becomes void patterns and element wear at the print line.
- Set darkness at the minimum that yields solid black — maximum-darkness-always cooks ribbons, halves head life, and blooms fine text. Barcode work especially: excess energy grows bar width and hurts grading (see the barcode guide).
- Log head replacement dates and label counts per printer — a fleet pattern (one machine eating heads) is a pressure or debris problem, not bad luck.
A white line that survives a proper head cleaning is a burned element — replaceable, but gone. On aging discontinued machines (BMP61, BBP33 era), weigh the head price against the successor models in the printer selection guide before ordering parts.
Half of print quality is the pairing
The Ribbon Finder matches your exact B-number to its tested ribbon series — the step that belongs before every settings safari.